Showing posts with label surface design. Show all posts

Tuesday, October 9, 2018

Experimenting With A Product

     Do you like to run experiments when you discover a product you've never used? I think I originally became a scientist because I love to do experiments. Now that I'm an artist, I find this skill handy and still fun. The product I'm writing about is called Fiber Etch. I found out about it from Jane Dunnewold when I took the Art Cloth Mastery Class and decided it had potential in my artwork so I ordered a bottle of it. Basically, it destroys cellulose-based materials, which means you can use it to selectively dissolve cotton fabric.  My friend, Angie Knowles, sent me a sample of a silk-cotton fabric she had purchased so that I could try Fiber Etch on it.
     Here's what I did and the results:
1.) I applied the Fiber Etch (which is a thick liquid a little thicker than maple syrup) through a thermofax screen onto the fabric.
the fabric wet with fiber etch
the thermofax design I used
2.) I let it dry overnight.
3.) I ironed it to heat-destroy the cotton fibers where the Fiber Etch had made contact.
the brown parts are where the cotton got destroyed

4.) I soaked it in warm water for about 10 minutes and softly rubbed it with my hands.
5.) I hung it to dry
6.) I ironed it flat and brushed it with a scrub brush (but gently) to remove any stray cotton fibers.
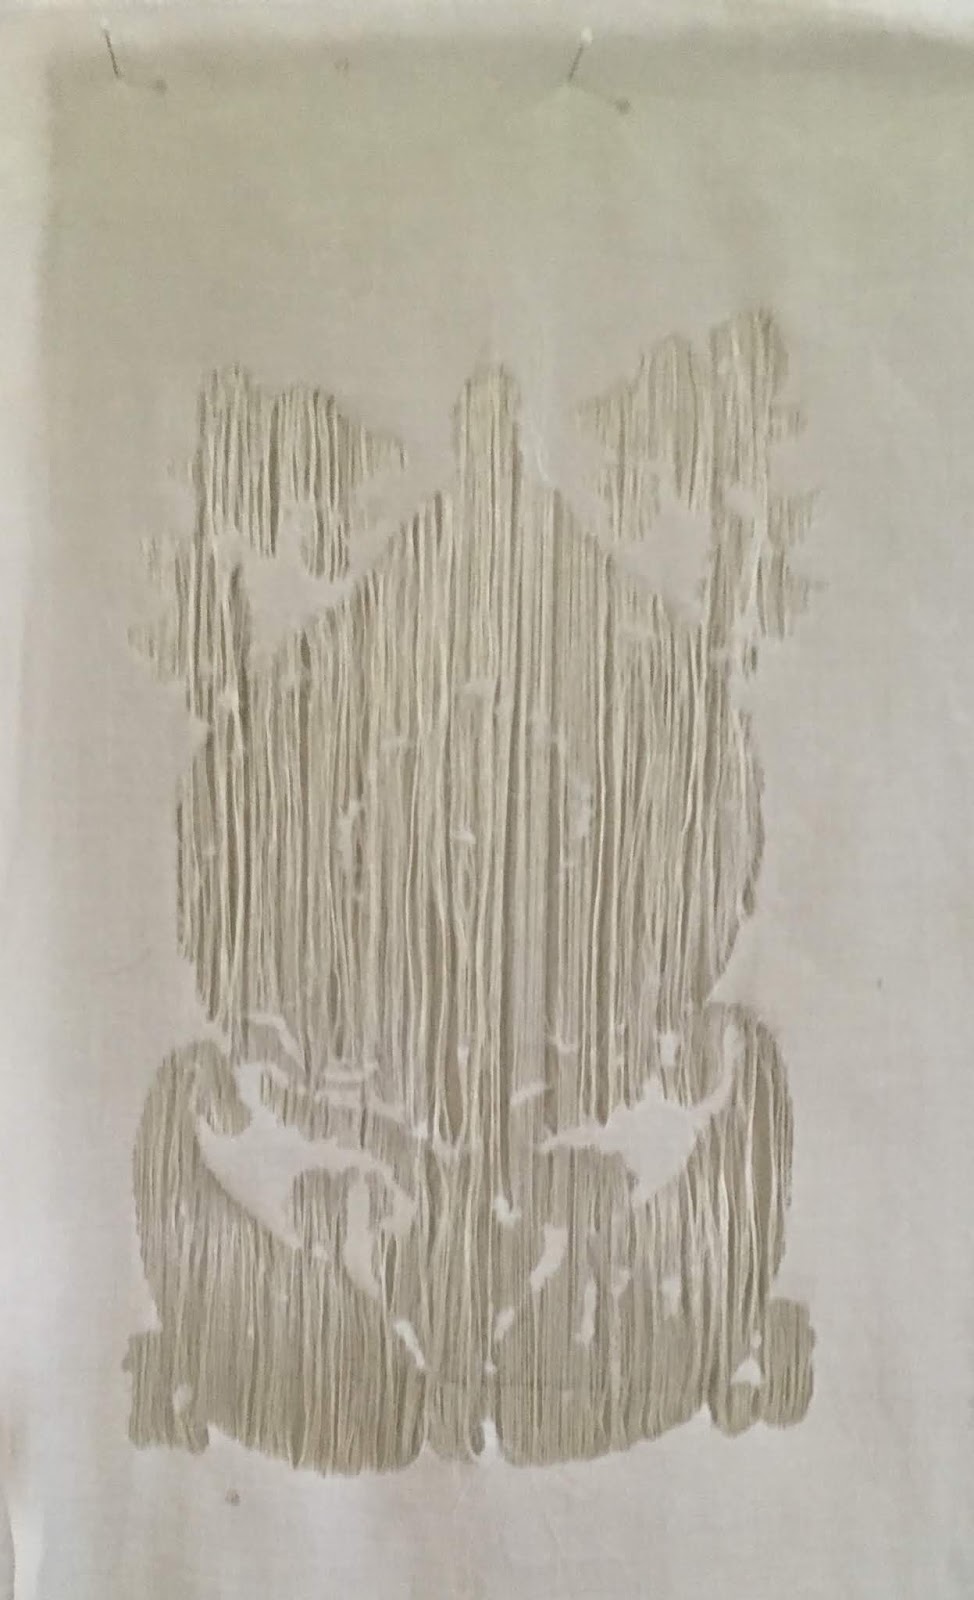
this design was not a good choice since it didn't keep the detail... too much cotton got destroyed.
I redid it with 3 other thermofax screens to try for a more suitable design for using with this product
You can see from the results that this particular fabric is made using silk woven in one direction and cotton in the other, so the result from the fiber etched parts is silk fibers running in one direction with no fibers woven with them in the areas that got etched. This works ok for designs with thin lines or thin shapes, but leaves an area too open for designs with bigger shapes.


7.) I put it in a dye bath of  procion MX dyes ( sun yellow mixed with mixing blue 50:50). (I chose this color mixture because I was aware that cotton turns a different green hue in it than silk does).
8.) Batched it for 24 hours, rinsed it, dried it, and ironed it.
the silk fibers dye a more yellow green and the cotton fibers dye a more blue-green. 
You can see the silk fibers running vertically in the etched areas. 

I had previously tried this product with a poly-cotton fabric in which the all the threads are a mix of cotton and poly. The result is more effective with this type of fabric because you end up with woven shapes in the etched areas, but they are thinner since all the cotton gets removed and only polyester remains. 
The remaining polyester threads (in the etched areas) don't accept the dye; only the cotton does.
So you end up with your thermofax-etched areas staying white
The whole cloth dyes lighter than expected since the polyester part doesn't accept the dye.
I have more things I want to try with this product, but this is a good start and I found it interesting to see how the thread structure plays a roll in the results. I'm linking this to Off The Wall Friday where you can find other art blogs. Please make comments on the artists' post to let them know you stopped by.  Thanks for visiting.


Sunday, September 3, 2017

What Is Your Favorite Technique For Surface Design?

     Do you have a technique for surface design that you find you use the most or do you use all sorts? I've been experimenting with techniques for years, but I've found that I find creating and using thermofax screens and stencils to be most fun. For both of them, I use my own photos as a starting point. I try to find the element I want to photograph and isolate it by putting white paper behind it.

Then I use the software Art Studio on my iPad to alter it and turn it into a black and white image with high contrast. For thermofax screens, I've gotten lucky and found a local shop, Fabrications, that makes them so that I don't have to pay for shipping. I just take them a copy of the image and they make the screens for me for a very reasonable charge.
     For stencils, I trace the image onto stiff cardstock and cut it out with an X-Acto knife. If it is a stencil I plan to use a few times, I coat it with semi-gloss medium first so that it is a little water proof.
This last time, the image I wanted to use was the root you see above. I needed an image that was too large for a thermofax screen and knew that making a stencil of it would be daunting. But it was the only way I could think of transfering that image in the color and value I wanted. So I decided to get on with it and do it. I had a transparency made of the black and white image, projected it onto freezer paper, traced it, cut it, and ironed it onto the fabric.
Cutting the stencil
I figured it took me about 5 hours of cutting time. I couldn't do it all at once because it would strain my wrist so I did it in portions over three days while I involved myself in other tasks in between.
freezer paper ironed on
There were inserts of freezer paper I ironed on into some of the larger open spaces, too.

my design wall now with the root stencil done
So now I'm designing a square version of the green one and hoping I can reuse that freezer paper stencil for that. I may have to cut another one in a different size. I'll have a thermofax made of it for the small collages and other uses. Even though it took time and effort, it was a very satisfying experience and I plan to do more of it. Regarding surface design, I think I've found a place where I can happily stay awhile. I'm linking this to Off The Wall Friday where you can find other art quilt blogs. Please make comments on their posts so that they know you stopped by. Thanks for visiting.