Thursday, September 25, 2014

How Do You Design Your Art Pieces?

     What method is an effective method to use to design an art piece? I've tried several approaches and haven't really settled on one hard and fast method.  I think I'll try a new one here. The other day I was watching TV and saw a commercial for eyeglasses. It was a store that sold inexpensive eyeglasses and they were trying to sell the idea that you should have several different styles to suit different moods. The woman opens a drawer and inside are several pairs of glasses. She puts on one pair and says something like, "I am an artiste." She puts on another pair and says something like, "I am a business woman, bring me my pie charts." And on it goes.
     So that gave me the idea to dress up an art background for different moods. I would take photos of each design and see which I liked the best, if any. At least it would be fun and a good exercise in composition.
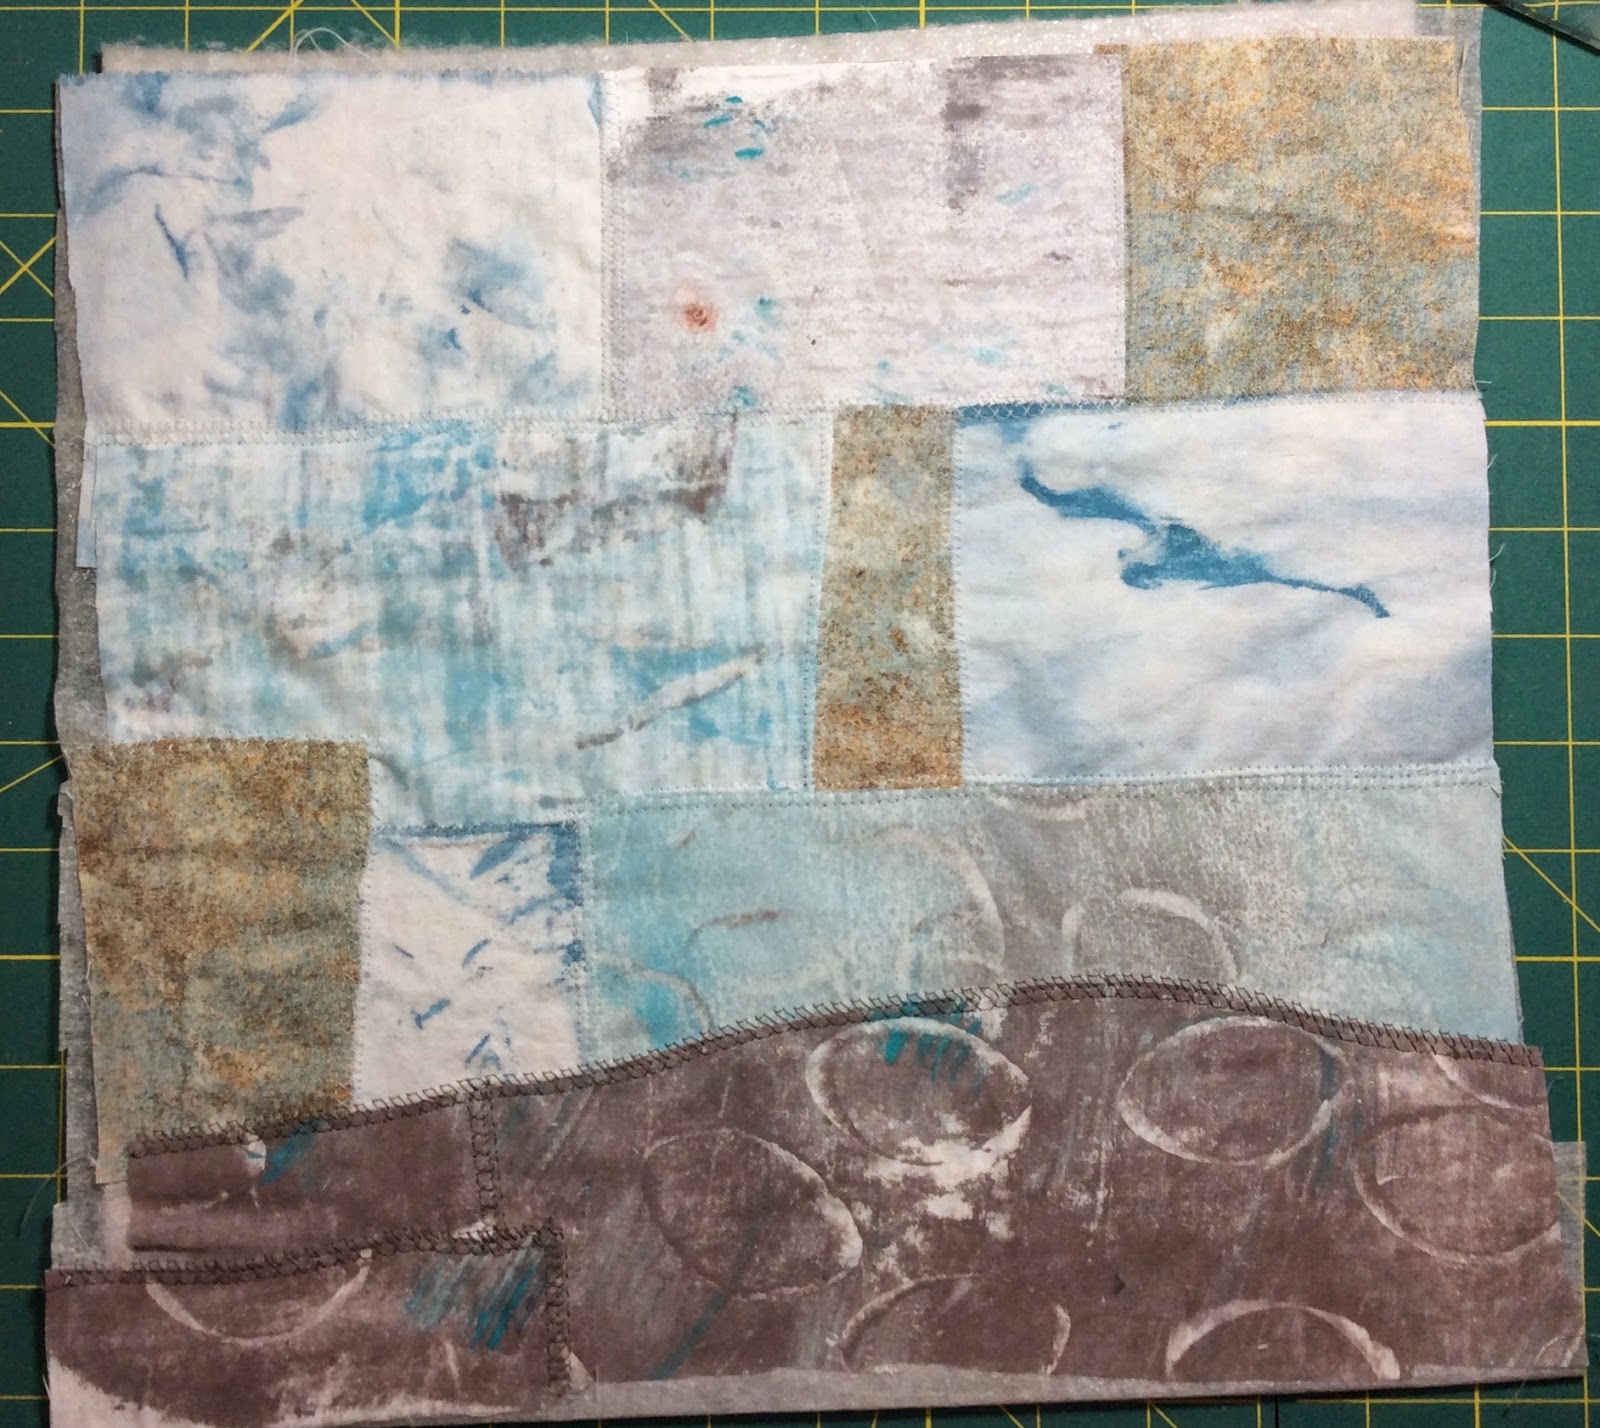
     Here's the background I have. It's about 12 inches by 12 inches. It's made of monoprinted cottons and one commercial Stonehenge cotton. I sewed the pieces together onto batting.
Background awaiting its alterations
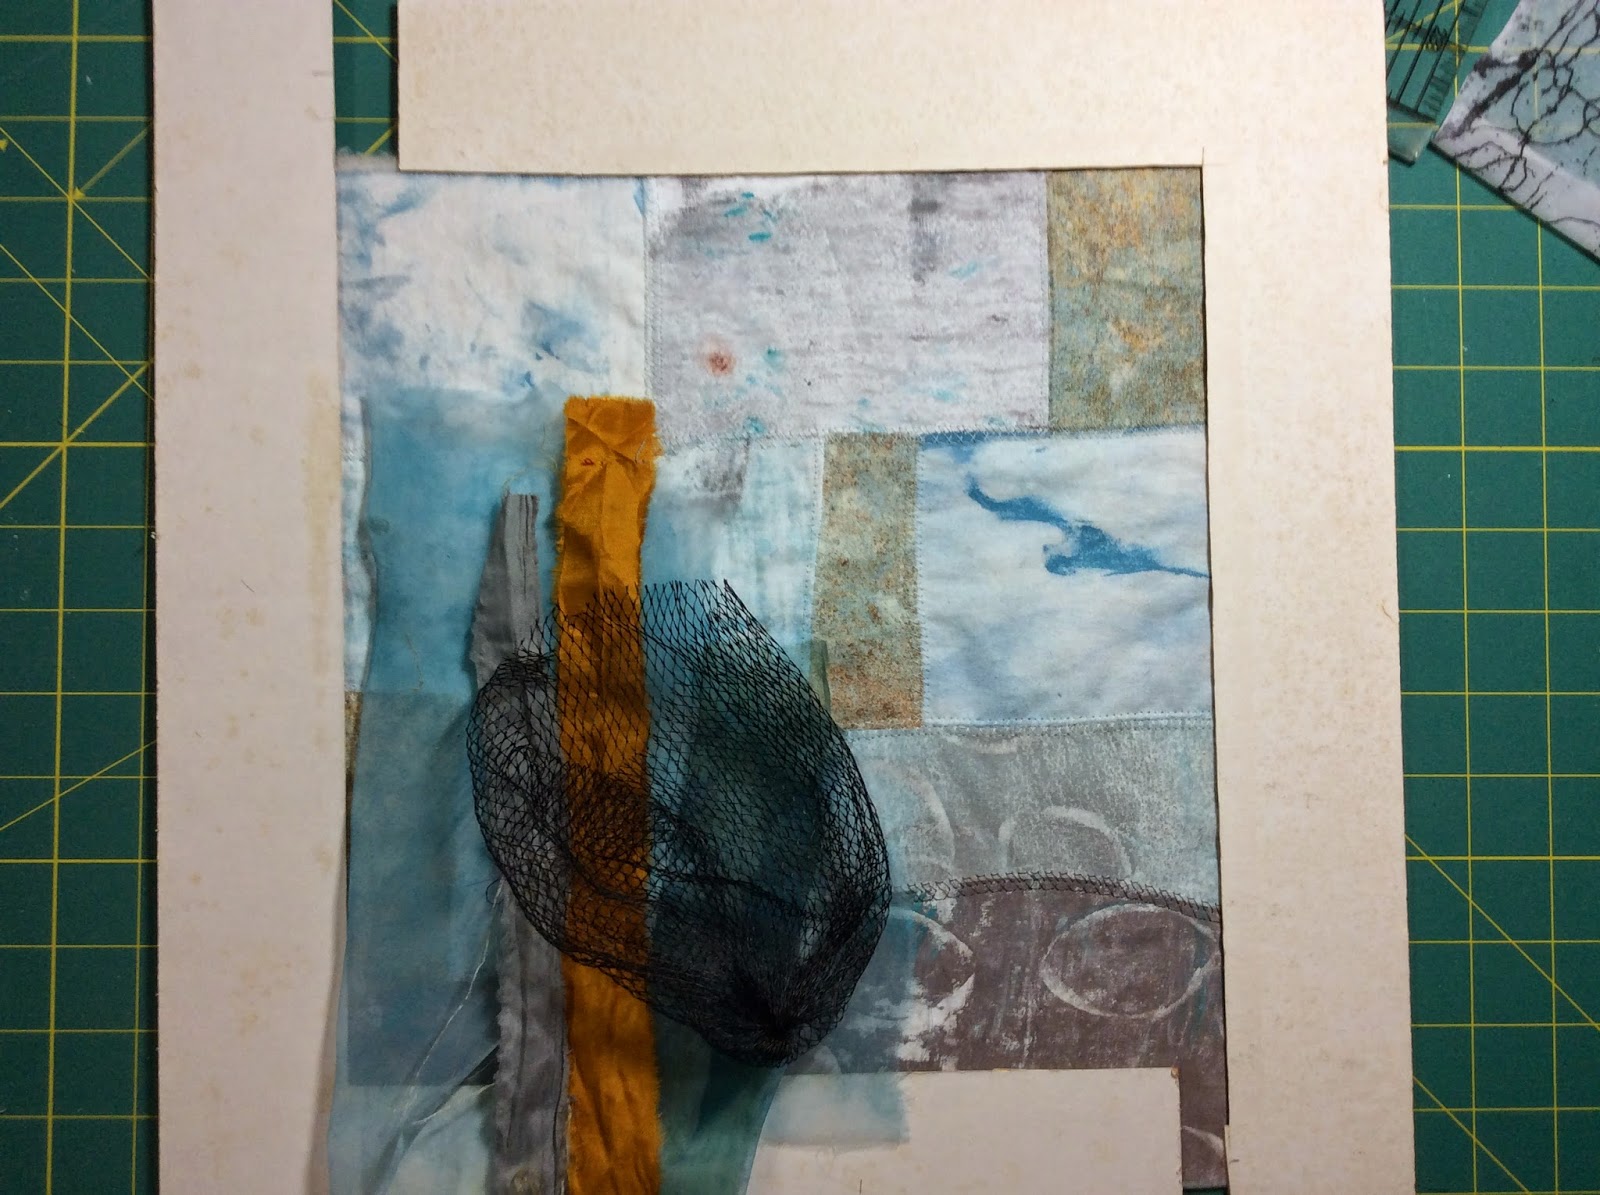
     The next thing I did was to go through my stash of fabrics and fibers and choose colors and textures that would look good as foreground elements. I chose a couple of sheers in turquoise and teal, some silk sari ribbons in gold and gray. And I put on the the black plastic veggie bag not because I'm going to use it, but because the black looks good and I'll use black thread in the sewing somewhere.
With a cardboard viewfinder

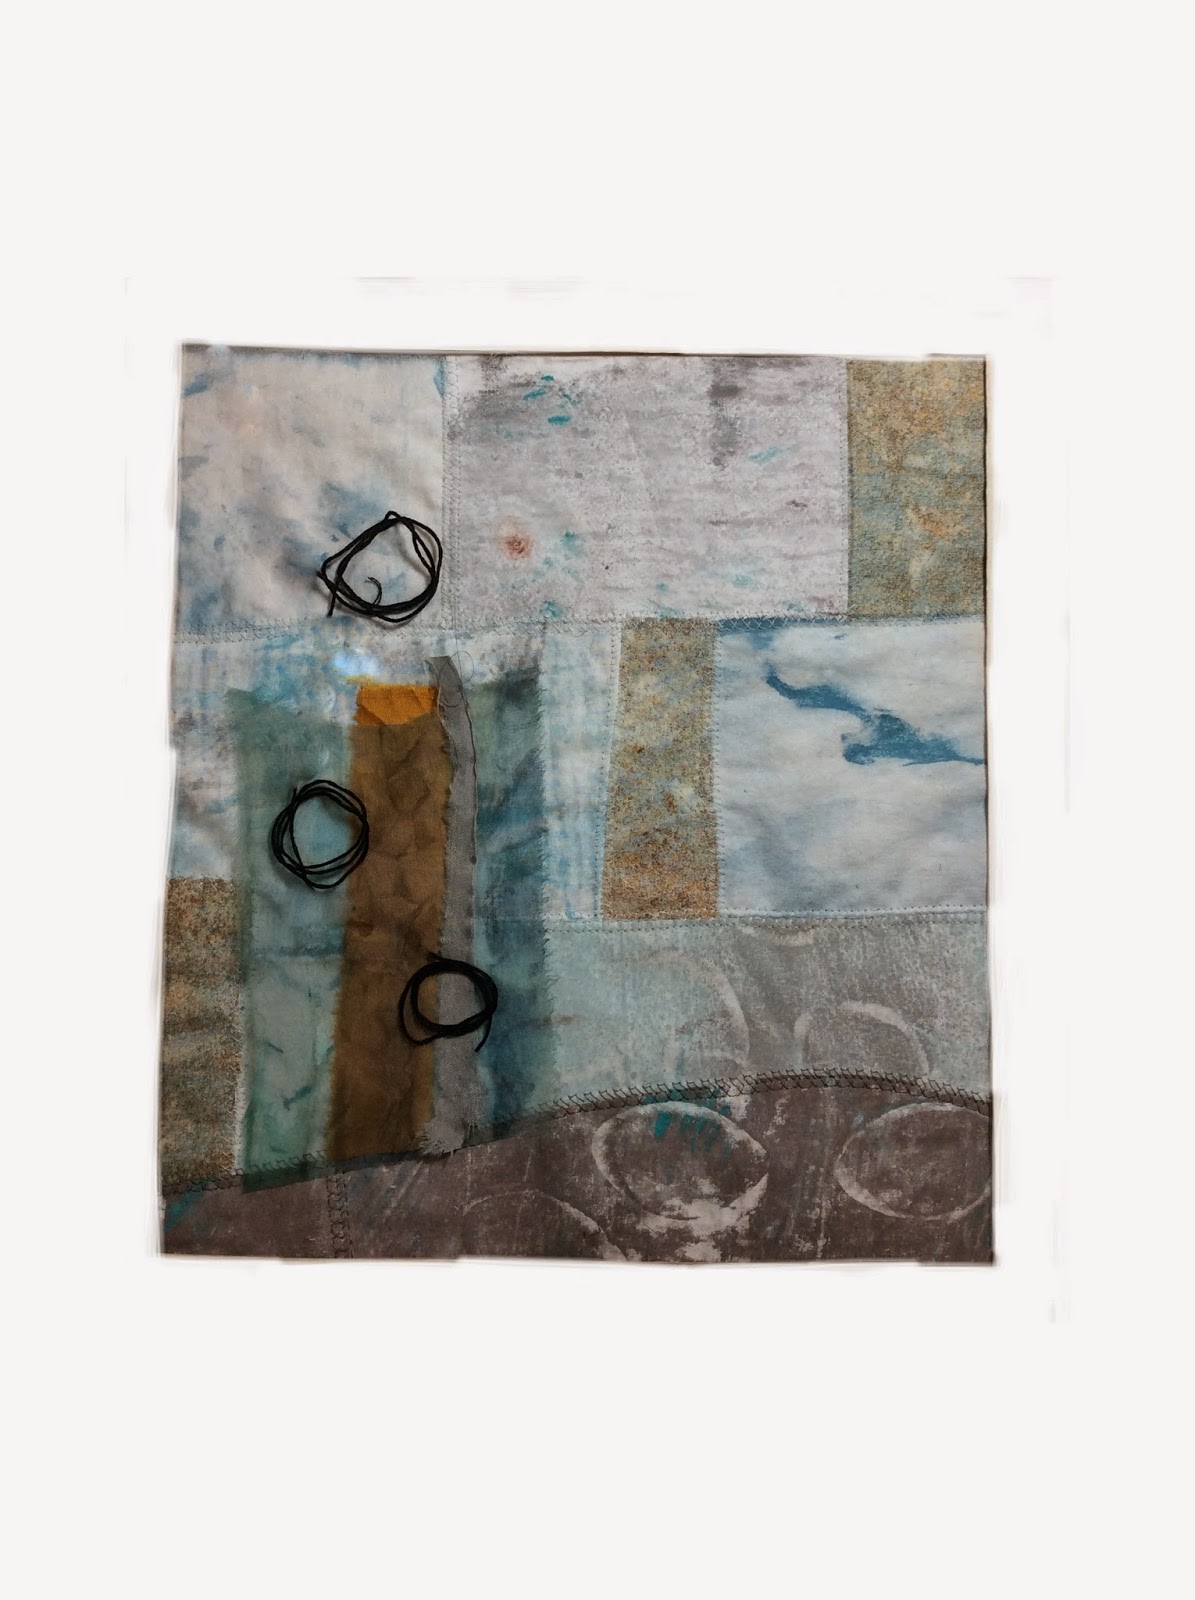
OK. Ready to go with the moods. First one is Abstract. I cut up the fabrics and placed them on, took a photo, then (because the cardboard viewfinder is so old and marked up) I used the ArtStudio App to paint white around the edges to cover up the viewfinder.
Naming this "Riding the Thermals"
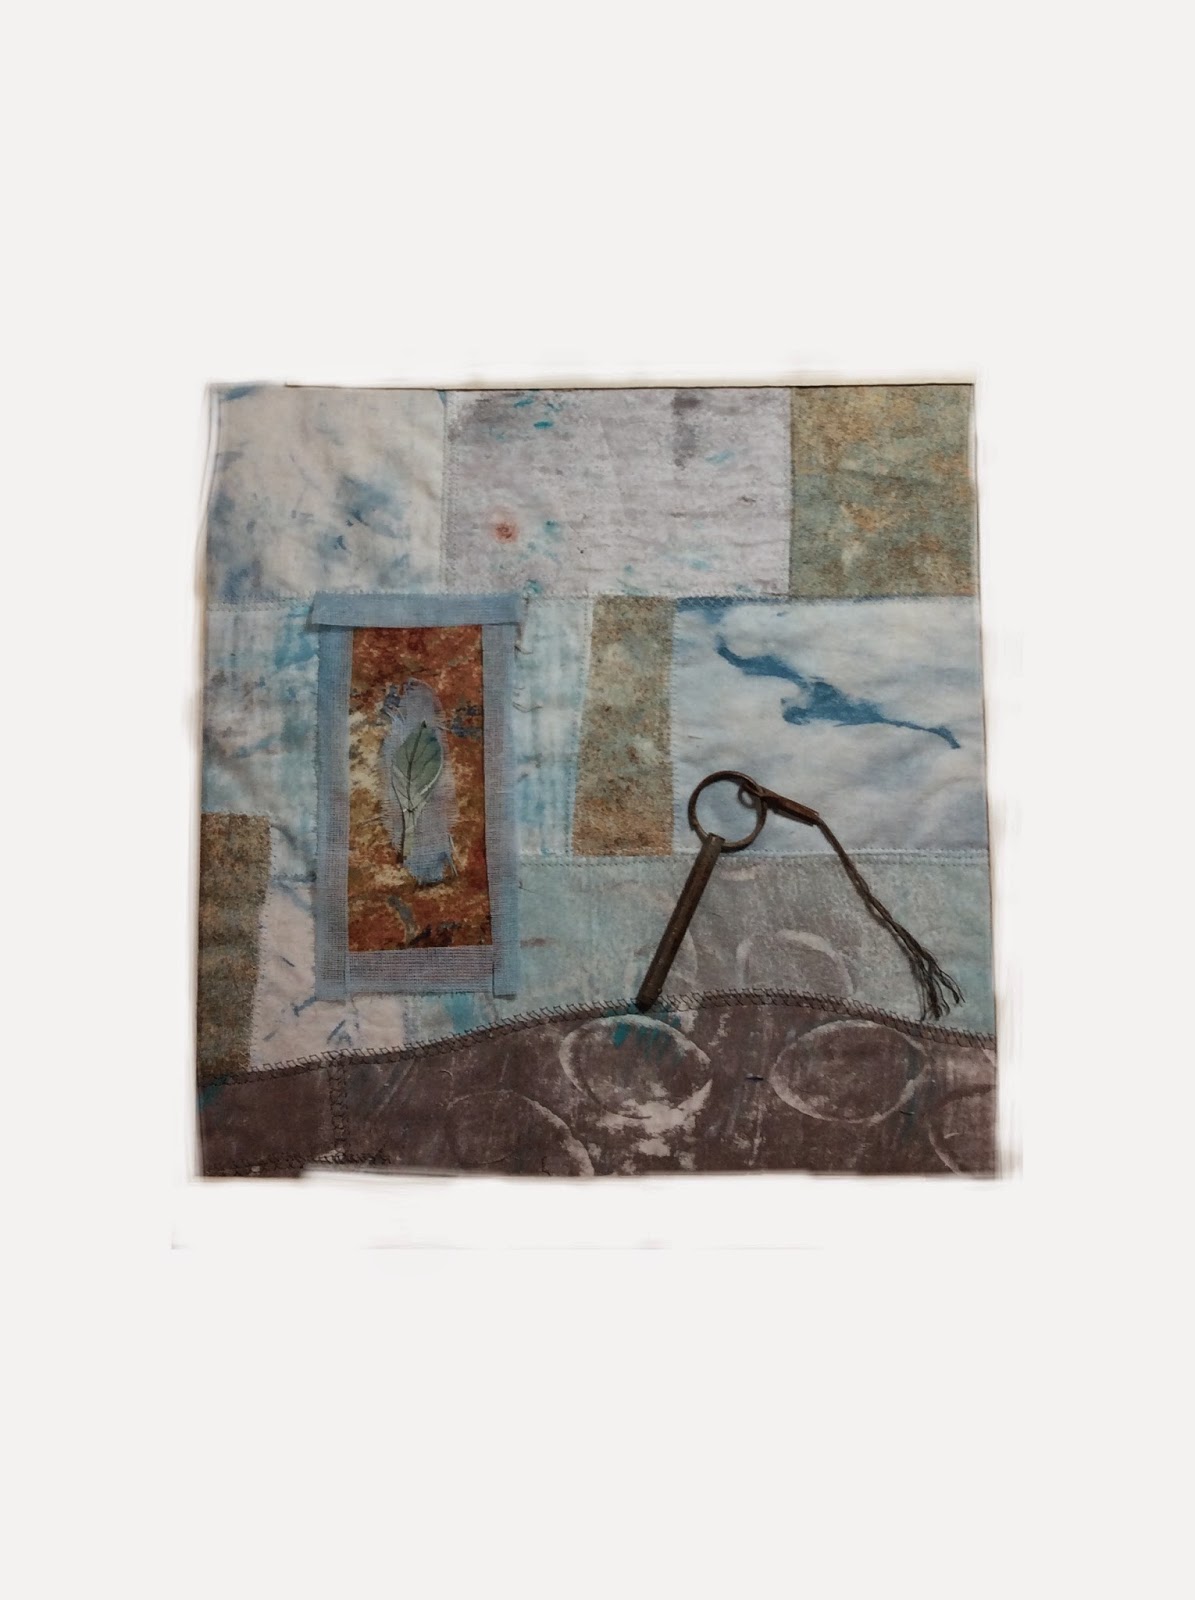
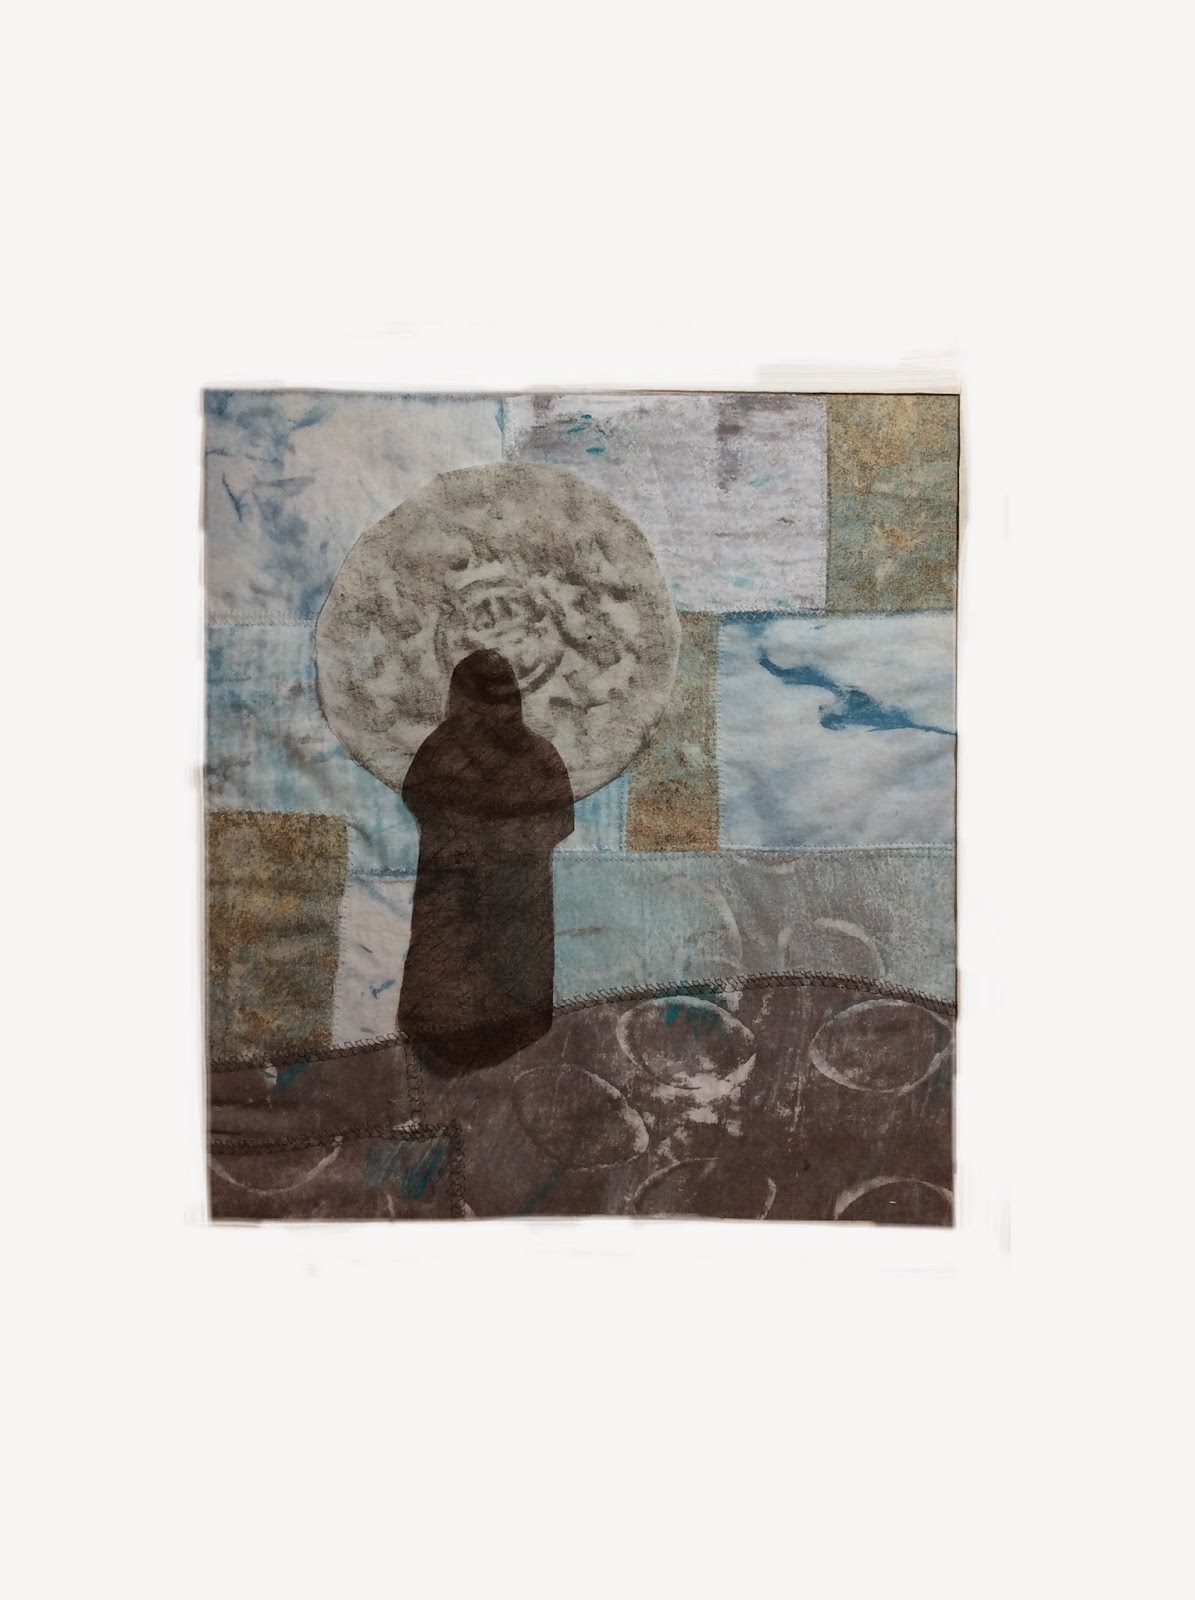
Next one is Mysterious. It has a piece of hardware on it. If I were to make this one, I might use an image of the hardware and make it look more like a key.
Naming this "Passages"
Next is Calm
Naming this Contemplation 2
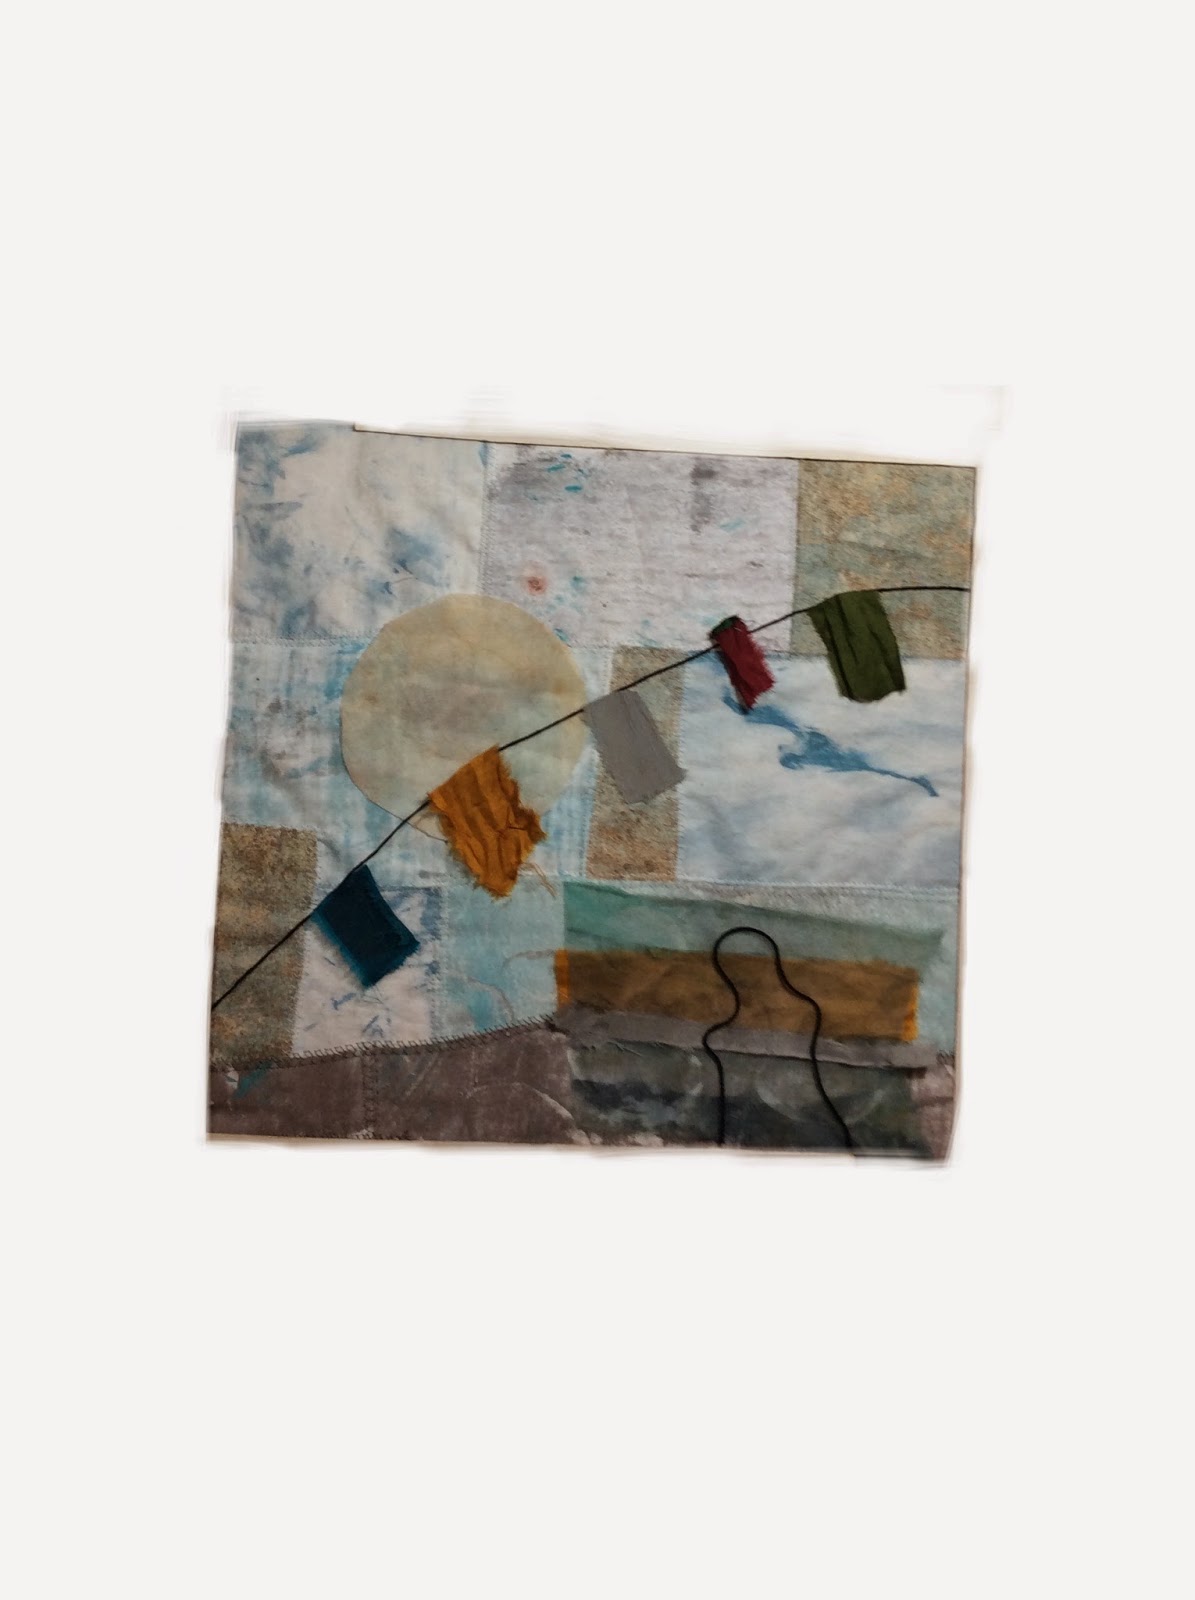
Next is Spiritual. If I were to use this, I'd have text written on the prayer flags. And have a much better image of a person sewn on.
Naming this Praying for Peace
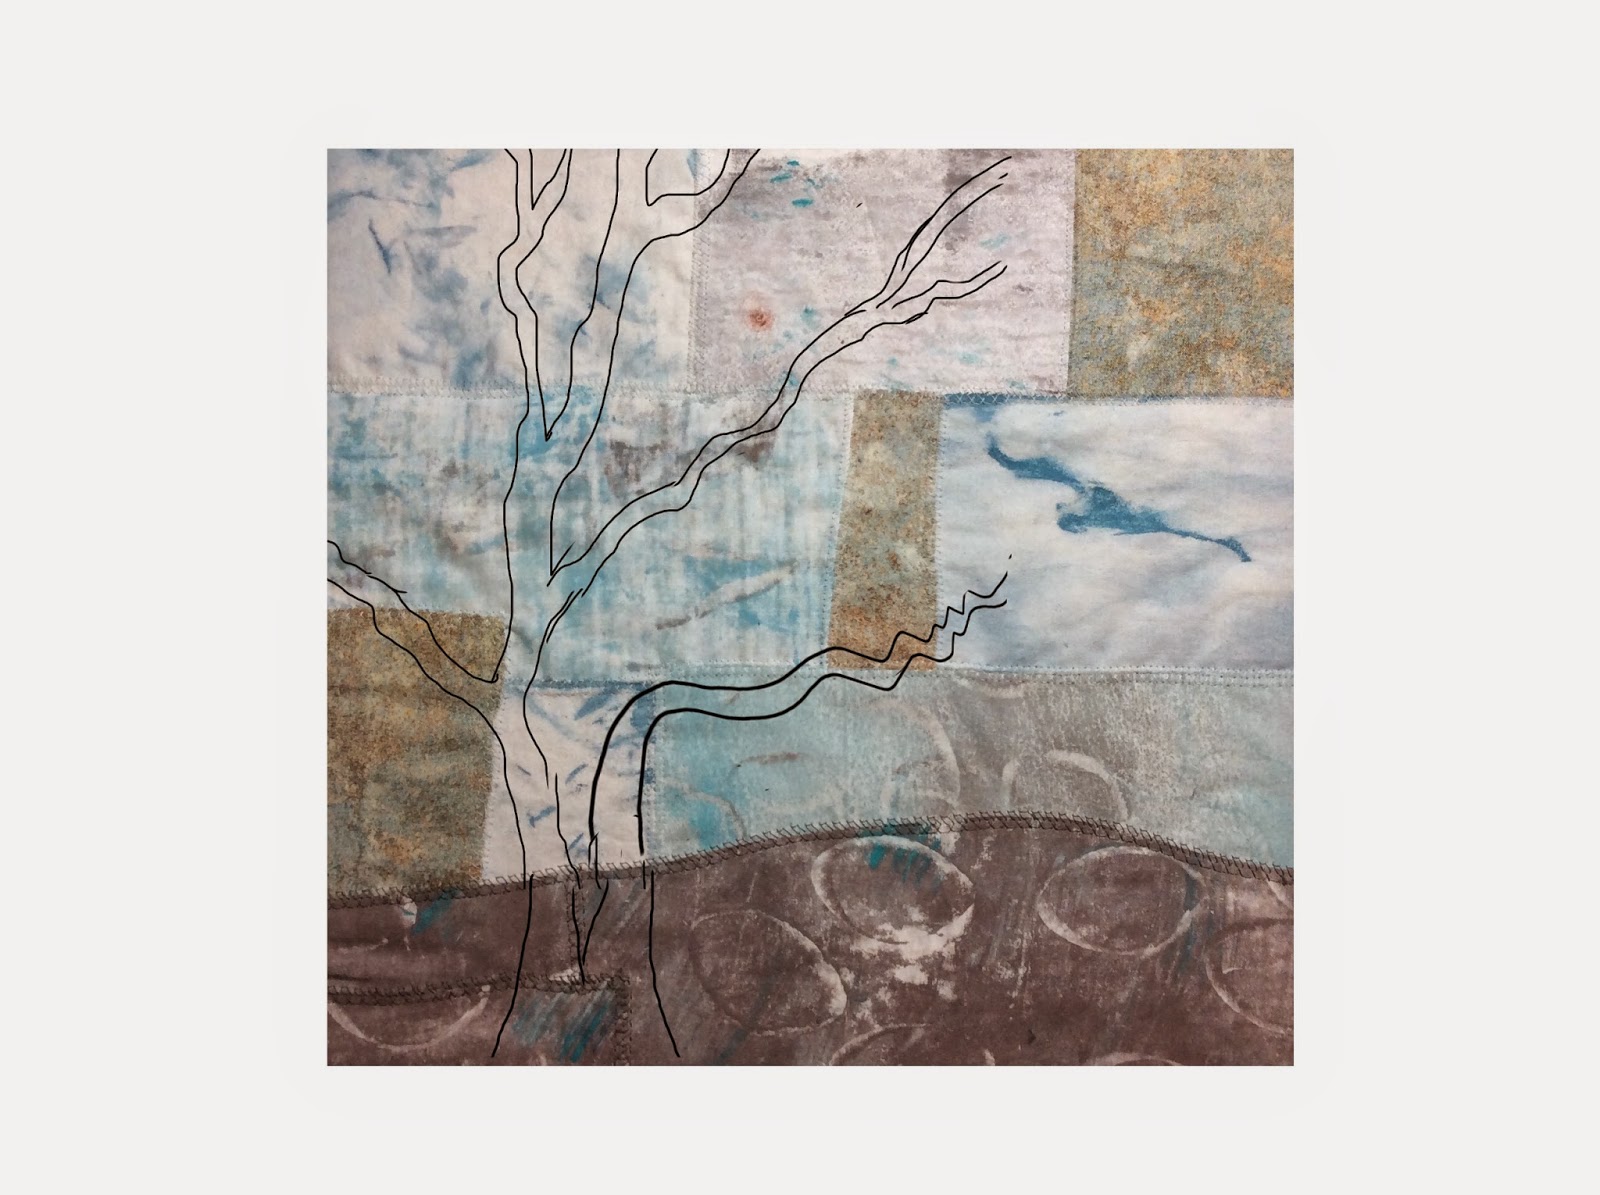
Next is Nature. The tree was added digitally. It is from a sketch of a tree from my yard. If I were to use this, I'd free-motion sew the tree on in black thread.
Naming this "Landing"
     In each one, I tried to create a focal point, tried to create a design that kept the eye moving around, tried to create three masses. In the last one, Landing, I only had two masses. I redid it later by adding a third mass under the bird and it looked better. In Riding the Thermals, I may move the frame over to the right so the bird doesn't get cut off because I think the viewer's eye may jump out of the frame otherwise.
     There are two of these that I'm leaning towards, and they are not the monk or prayer flags. As you know, things always look better once they are actually stitched. I'm not the type of blogger that only shows you finished works. I like to show you things in progress and how they are when they aren't so good, too. Hopefully, this piece will get finished and it will come out looking good in the end. It was a fun, and for me, useful design exercise. 
     I'm linking this to Off The Wall Friday where you can find other art quilt blogs. Please make comments to let the artists know you stopped by. Thanks for visiting.


Thursday, September 18, 2014

So What Do You Do With Your Mixed-Media Collages?

     There has been a lot of talk of making mixed-media collages and journal pages. So I decided to try my hand at making a couple of small collages. But since I'm a fiber artist, I didn't know what to do with the collages once I was done with them. They were made from papers and mounted onto cardboard.
     First, let me tell you how I made them. I was inspired to make something fairly quick and play with paint, paper, my gelli plate, and various tools, and just have fun in an afternoon.
Here are the ingredients:
scrap plain paper, an envelope, some gift wrapping paper, an old movie ticket, some pieces of a watercolor painting I made that didn't work out,  some postage stamps I had saved, some maps from a pocket calendar,  and magazines.

Here's the process:
1.)  I spread acrylic paints on my gelli plate and monoprinted a bunch of small papers and even an envelope.
monoprinted papers and envelope

2.)  I cut the monoprinted papers into shapes that I found in the magazines. Such as a bird shape and people shapes. I cut out words from the magazines.

3.) I cut out pieces from the gift wrap, from the watercolor painting, etc.

4.) I used matt medium to glue large rectangles of the monoprinted papers and gift wrap onto a cardboard background to create a background. This was a mistake, it turned out, because the cardboard warped when it dried. I should have also applied the matt medium to the back of the cardboard. I applied gesso to the back and then matt medium when I was finished with the whole thing and that did the trick to unwarp it.

5.)  Then, for me, the quick part was over. I couldn't decide where to put the elements. I'm a slow designer. It took several days to decide. But here are the finished collages. I glued all the pieces down with matt medium underneath and then another coat on top of the whole thing.
Big Horizons on cardboard
Big Horizons represents my husband and I as travelers, because we do travel a lot. The movie ticket is from The Adventures of TinTin which we saw in 2011. We discovered TinTin together in a used book store in Nepal in 1984 so it is very special to us. We had never heard of it before that. My husband is from Argentina, hence that part of the map.
Outside the Lines on cardboard
Outside the Lines came about because of the background of the sky. I drew in the dark lines with a gel pen after it was finished.
 
     So the question was still there. What to do with them? They are paper on cardboard. My latest meeting with my art group, ArtsEtc., was about image transfer so that idea was in my head. I decided to scan these images into my computer and print them onto cotton muslin. I knew from experience, that I needed to play with the images in Photoshop Elements before I printed them. What needed to be done, was to enhance the saturation quite a bit because the colors always print a lot more faded than they look. Also, I needed to increase the contrast on the words on the ticket a lot more so that they would show up on the fabric.
     I printed them, made quilt sandwiches, did some free-motion quilting with black thread, made a pillow-case binding, machine-embroidered around the edge. I ended up having to write on the ticket with pencil to make it darker and then paint on matt medium to make it permanent. Here they are.
Big Horizons finished

Outside the Lines finished
I'll sew on a pop top thing from a can to each back to hang them and hang them in my studio.
I'm linking this to Off The Wall Friday where you can find other art quilt blogs. Please make comments on their posts to let them know you stopped by. Thanks for visiting.

Tuesday, September 16, 2014

How Do You Make Repair Work More Fun?

     Even though we are artists don't we get asked to repair clothes for our family members? And, in my case, since my husband does so many good things for me, how can I refuse? But I do hate repair sewing. It is so uncreative. Plus, I'm not very skilled at it. I don't take the time to read how to do a repair; I just look at what needs to be done and figure out my own way so that I can be done with it.
     The latest repair request was to sew up some holes that had appeared in the crotch of his favorite shorts.
holes from outside


     He asked me to put a patch on it. I thought a patch there would cause discomfort, so, instead, I used a darning stitch on the machine and did a nice job with matching thread and sewed and disguised the offending area. All was again in the creative mode in the studio (or so I thought).
sewn up on the outside


     After he used them once and they went through a washing cycle, the holes were back. So a patch was indeed required. Well ... My mischievous nature took over...  I used a matching thread for the outside and darned the holes shut.

     But, on the inside, I chose a fabric for the patch that had character!
patch on the inside
      When I gave him back his shorts, I said, "here they are with a matching thread on the outside so that it won't be quite so noticeable." He inspected the outside and agreed that no one would notice, especially since it's deep in the crotch. Then he opened up the shorts to look at the inside and started laughing and said, "Oh, So well done!"
     I think I now know how to have fun with repair sewing. Do any of you have any hints on how to enjoy repair work?
   

Thursday, August 28, 2014

Generous Gift and Using Up Fabric

     I was in the studio minding my own business when my husband came in with two plastic cases. I thought they were hardware or fishing tackle or something like that because he had just come home from bike riding with his buddies. He opened them up and this is what was inside!
Gobs and gobs of  embroidery floss
     "Holy moly! Where did you get that?" I asked. One of his friends cleaned out his garage and the floss was from his late mother. It was in two separate cases in random order so I dumped it all out and began to organize it by color as you see in the photo. I'm planning to keep only some of it and take the rest to my art group to give away. I can't imagine that there are any colors missing.
     The last couple of weeks I've been busy making wheel chair covers. I've made seven. I'll be traveling in the Fall a bit so I wanted to have them made through the Holidays and I found it was easier to make them in pairs. So here are photos of six of them. (I haven't taken a photo of the last one  yet.)
Night sailing

Day sailing


Modeled after my friend's dog


A request for another dog


Butterfly

Hummingbird
     I inherited that gingham fabric and wasn't sure I would ever use it, but it sure has been useful for these covers. It's very colorful as a background. Little by little, I'm digging into my stash of commercial fabrics. That's a good thing, because for my art quilts I hardly ever use these fabrics anymore and I hate for things to go to waste. I'm linking this to Off The Wall Friday where you can find other art quilt blogs. Please make comments on their posts to let them know you stopped by. Thanks for visiting.


Thursday, August 14, 2014

Need A Fun And Useful Group Activity?

     My art group, ArtsEtc, had an excellent activity taught by one of our members, Pat Miles, for our August meeting. She taught us how to decorate switch plates and electric outlets. All the ones in her house are fabulous mini art pieces.

What you need:
Fabric or decorative papers
Bits of jewelry and/or beads
Paint
Stamps
Thread
Needle
Scissors
Glue
Mat medium
Brush

     Here are the basic steps:

1.) Unscrew the switch plate or outlet from the wall.

2.) Cut the fabric about 3/4 inches larger on all sides than the switch plate or outlet. You can also prepare bits of fused fabrics or even papers. But size it here at this step.

3.) Choose how you want to embellish it. You can sew on beads, bits of  jewelry, found items, you can stamp it, paint it, embroider it, etc. Do it at this step.

4.) This is the step where you glue the finished piece to the plate or outlet. I used tacky glue. Other people used a spray glue. Others used mat medium. I spread the glue onto the plate with my gloved finger and used a little water. Then I pressed the fabric on top and slid it into place. I turned it over, cut into the corners with little scissors, folded the corners in and glued them down. Then I glued the sides down onto the back, too.

5.) Then I used the small scissors to slice open the opening for the switches and cut into the corners there, too. I folded those tiny pieces to the back and glued them down, also.

6.) Next, I used a 1-inch flat brush to apply mat medium to the entire surface on the front and let it dry overnight. That way the plate can still be cleaned.

7.) After it was dry, I used the points of my small scissors (since I don't have an awl) to poke the holes where the screws go.

8.) I screwed it back into the wall. Pat told us that if you use thick fabric, you need to buy longer screws, but they are easy to find. Final step is to paint the tops of the screws.


This one is on a tiled kitchen wall
This one is on my family room wall


This one is on my family room wall


 So I've done three so far and I think I want to do maybe twelve more.
A few tips ... Remember that all sewn embellishments need to be added before you glue the fabric to the plate or outlet.  And don't put embellishments too close to the switches because then they will just be in your way. I'm linking this to Off The Wall Friday  where you can find other art quilt blogs. Please make comments on their posts to let the artists know you stopped by and thanks for visiting my blog. I hope this posting reads ok. I made it using my iPad instead of my usual laptop because my laptop is in the shop.

Thursday, July 31, 2014

What Do You Get Out Of On-LIne Classes?

     Have you ever taken an on-line class that you have found very freeing and refreshing? Well, I've just finished a piece from one that has done just that for me. Before this class, I've done most of my work on the sewing machine. This class and this piece was done totally by hand. It was pieced by hand, basted by hand, appliquéd by hand, embroidered by hand, and quilted by hand. I never thought I would do such a thing, but I was so inspired by the artist's blog and art, Jude Hill at SpiritCloth that I signed up for her class Spirit Cloth 101. I started it in February by reading through all the text of the class and pondering about what my theme would be for quite some weeks while I worked on other projects.
     If you haven't followed my blog before, you can go back and see how I progressed on this piece here  herehere, and here.
     And here it is finished. The story is that the rocks fell from the moon into the river. There are eight rocks shown on the quilt. The river has eight eyes in it and that symbolizes the eight rocks peaking out of the river as they dance about in it.
Moon Dance

The background fabric is indigo I dyed several years ago with my art group. Most of the rocks I gelatin monoprinted and then hand painted the veins, two of the rocks are from commercial cottons. the "tree" is a piece of commercial silk, the multi-colored strip across the bottom is commercial cotton, and the borders are commercial from Marcia Derse.  I'm linking this to Off The Wall Friday where you can find other art quilt blogs. Please make comments on their posts to let them know you stopped by.
     I don't take many classes or workshops, but I'm glad I took this one. I learned some new techniques, but most of all, I learned about storytelling. And to let go more in my work. Thanks for visiting.

Thursday, July 10, 2014

What To Do With A Piece That Isn't Working?

      Haven’t we all had works that started out with such promise and us with such enthusiasm about them? And then either we’ve overworked them or somehow we just couldn’t get the tone we wanted out of them? Well, that seems to have happened with my latest small piece. It started as just a line study in crinoline. Then I wanted to develop it a little farther into a meditative piece with a Buddha. Since it was a small quilt, I felt I would just work free and easy and see where it went and have fun with it. It was great fun at first, but then I kept making adjustments. I thought I was liking it and when I thought it was done, I realized it wasn’t working out.  So how do I end it so that I’m happy with it?
     Since I last showed you the quilt, I added a fabric piece to the bottom. I had found a teal cotton piece that I had treated with some rusty hardware some time ago. To fit it with this quilt, I added some some texture rubbings with Shiva Paintstiks and left the rough edge of the fabric on the bottom edge. 
rubbing plate, paintstik, brush, palette,
tape to get pain on bottom edge of fabric
And I couched a fiber onto the border of it.  I found some sari silk ribbons and sewed those onto the other edges with the intent of squaring them off but then I liked the pattern of the edges they already had. So for the time being, I’m leaving the edges as they are. And I do love the edges. Funny that I love the fabric piece at the bottom and the sari ribbon shapes more than the actual quilted piece I started with.
     My stitched Buddha wasn’t the greatest. Since the quilt wasn’t looking good to me, I thought that was the problem. So I stitched another Buddha. The Buddha looked much better. Better face, better hand, better foot, but not a better quilt. 

with the new Buddha, couched fiber,
sari ribbon-borders, and bottom fabric

So I removed the Buddha and the squares and pinned a monk from sheer fabric in its place. 
Put a Monk on it!

A little better, but still, I don’t like the quilt as a whole. Next step was to look at the quilt without a monk or a Buddha or squares. 
Sigh (not the title)
It looks empty now.

     The end of this story for me is to put it away for a long time and work on something else. I sure wish I had a design expert on hand to tell me where I went wrong so that I could learn from it, but maybe in the future I’ll figure it out. So for now... Let it go... Let it go... Let it go...
Don't you wish you had a private art expert to guide you? Or would that take away your voice? What do you think? I'm linking this to Off The Wall Friday where you can find other art quilt blogs. Please leave comments on their posts to let them know you stopped by.